Outline
- Installing the PostGIS Database
- Enabling the raster extension in PostGIS
- Preparing or creating the raster data
- Knowing about the Raster WKB/WKT format
- Creating the importation-SQL file to execute
Tutorial
1. Installing the PostGIS Database
The easiest way to install the PostGIS database is using Docker, or you could choose another way to install it. Hence, install the Docker environment and docker-compose plugin on your computer, and here, the hyperlink below is the tutorial and documentation of how to install Docker.
Docker Engine installation overview | Docker Documentation
Whether the Docker has already installed, you could use docker-compose to run the database by configuring the docker-compose.yml file. The configuration file example is below the paragraph.
1 | version: "3.7" |
Once you have done it and the PostGIS database has been running well, you could make a connection to the database, using the DBMS application such as DBeaver or GIS application addressed QGIS.
2. Enabling the raster extension in PostGIS
There are a few extensions supported by PostGIS spatial engine. The default running configuration shows that 3 of these extensions have been enabled. But it was unfortunate to say the raster extension is not enabled by default way. So we should switch on it by ourselves.
The first step is to make your command line jump into the docker container, which is the database container you have created before.
1 | sudo docker exec -it pgdb /bin/bash |
After entering the container bash, you could connect to the database by using the command line tool that Postgres offered and named ‘psql’. It’s pretty easy to do. In addition, here are some explanations about the parameters. ‘-U’ is the user and ‘-d’ is the database name. I hope you could find it in the docker-compose configuration file that we have mentioned before.
1 | psql -U xyf -d gis_data |
After you finish your connection, I would say ‘Congratulation!’ to you and give you the instruction for the next step. These three SQL commands below will help you to enable the postgis_raster extension, and the gdal_drivers and query the status of the available extensions. You would see the result of your query formed as a table heading the name, default_version and installed_version. So easy, isn’t it? Make sure the installed_version of postgis_raster, yes the column is not NULL.
1 | CREATE EXTENSION postgis_raster; |
3. Preparing or creating the raster data
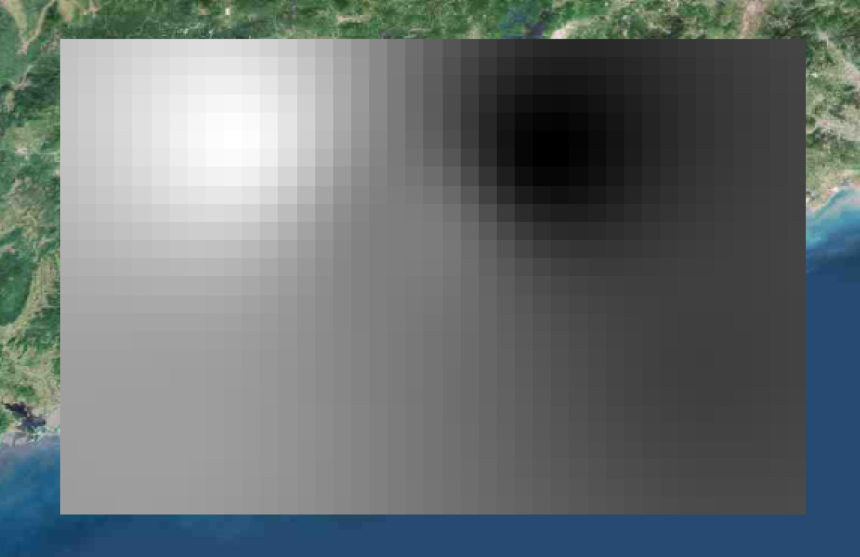
I’m sure that you are sure that one of the key steps we should do before importing raster data into the database is owing the raster data. Haha, if you don’t have your own raster data. You could create it using QGIS with the tools called Interpolation or so on. Then, export it into the GeoTiff format and copy or move the GeoTiff file you exported to the file path you have configured on docker-compose.yml and go through our next step.


Suggestions: DO NOT MAKE A LARGE RASTER DATA OR YOU WOULD CRY ON IT!
4. Knowing about the Raster WKB/WKT format
How does the PostGIS database store the raster data? It’s a pretty good question. As we know that PostGIS store the vector data with data type ‘geometry_column’ or ‘geom’. And the way to store raster data is familiar with it, demonstrating a new data type called ‘raster’ or ‘rast’. When you make a selection by querying some raster data on a database. You would see the HEX result looks like ‘01000001CDDB….’ and it is the WKB/WKT data format of a raster. About all, the key to importing raster data into the PostGIS database is converting your own raster data into WKB/WKT raster format.
You may find out the attributes of Raster WKB/WKT by clicking the link below.
WKTRaster/Documentation01 – PostGIS (osgeo.org)
5. Creating the importation-sql file to execute
I would say it’s much more convenient to make the conversion by using the script or tool that PostGIS has already done before, named ‘raster2pgsql’. You could find the usage of ‘raster2pgsql’ via the command ‘raster2pgsql’ after we jump into the container in which the database is running on it. We should find out and reach the path where the testing GeoTiff is waiting for us.
1 | raster2pgsql -s 4326 -I -C /tmp/test.tif nc.test_raster > test.sql |
We may specify the SRID of our raster in the progress, and the example illustrates the parameter with ‘-s 4326’. You could get the explanations about parameters ‘-I’ and ‘-C’ by yourself. ‘/tmp/test.tif’ is the file path of your GeoTiff file. ‘nc.test_raster’ shows the schema with ‘nc’ and the table name is ‘test_raster’. Finally, the SQL file would be created into the path you running this command and named test.sql.
1 | BEGIN; |
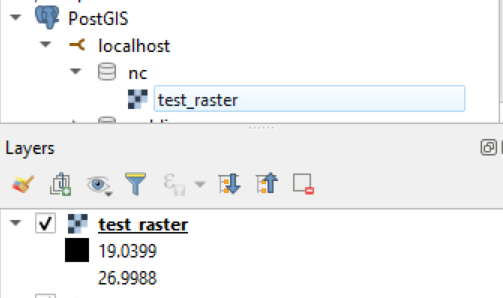
You could execute this SQL script using DBeaver, and the ‘nc.test_raster’ would be imported into the database, or you visual it by using QGIS, connecting the database and dropping it into the layers panel. That’s all.


References & Documentations
raster2pgsql
https://postgis.docs.acugis.com/en/latest/components/raster2pgsql/index.html#documentation
using_raster_dataman
https://postgis.net/docs/using_raster_dataman.html#RT_Raster_Loader
docker_hub_postgis
https://hub.docker.com/r/postgis/postgis
WKTRaster
https://trac.osgeo.org/postgis/wiki/WKTRaster/Documentation01
Author: 徐奕峰 Eephone Xu

